Being engaged in system administration and reverse engineering of software, I periodically have a need to find out what files and directories were created or modified by some program. For these purposes, you can use existing solutions that track file system changes, logging, installing hooks on system calls to change files or completely isolating a particular program. However, I had a purely sporting interest in making my own version of such software that would work quickly and did not require any additional actions or changes in the working environment of the program under study. This is how the JCut program appeared, creating a quick snapshot of the file structure of a specific directory, and then comparing the new state with the previous or other previously saved snapshot.
Below is a solution for turning the screen correctly in frame buffer mode. That is, to rotate the picture by 90 degrees (landscape orientation) and the touch screen driver handled this rotation correctly. The solution is tested on Samsung Galaxy S2 (i9100), touchscreen MXT224 (you can find out the touchscreen model by using the command: cat /sys/devices/virtual/sec/sec_touchscreen/tsp_touchtype), Ubuntu 13.04 Raring Ringtail and Debian 7.0 Wheezy.
What does work?
- positioning the cursor to the click location;
- retention processing (left mouse button retention emulation);
- processing of double-click with one finger (emulation of the left mouse button);
- processing of pressing with two fingers (emulation of the right mouse button);
- rotating the coordinates of the touch screen.
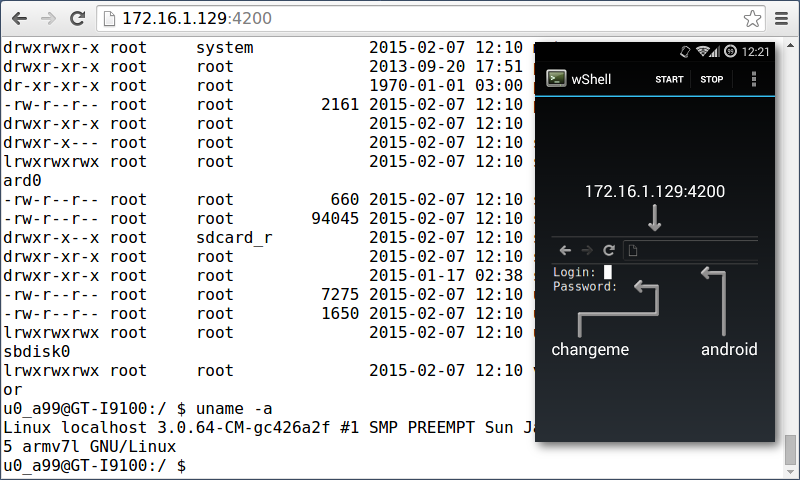
Web-based terminal emulator for Android based on Shell In A Box. The application allows you to connect to the console of your Android device directly from a web browser if the computer and devices are on the same local network.
The magazine Information and Control Systems N 5(66)/2013 published an article “Application for automating the installation and running of GNU/Linux environment on Android devices”, pages 56-60.
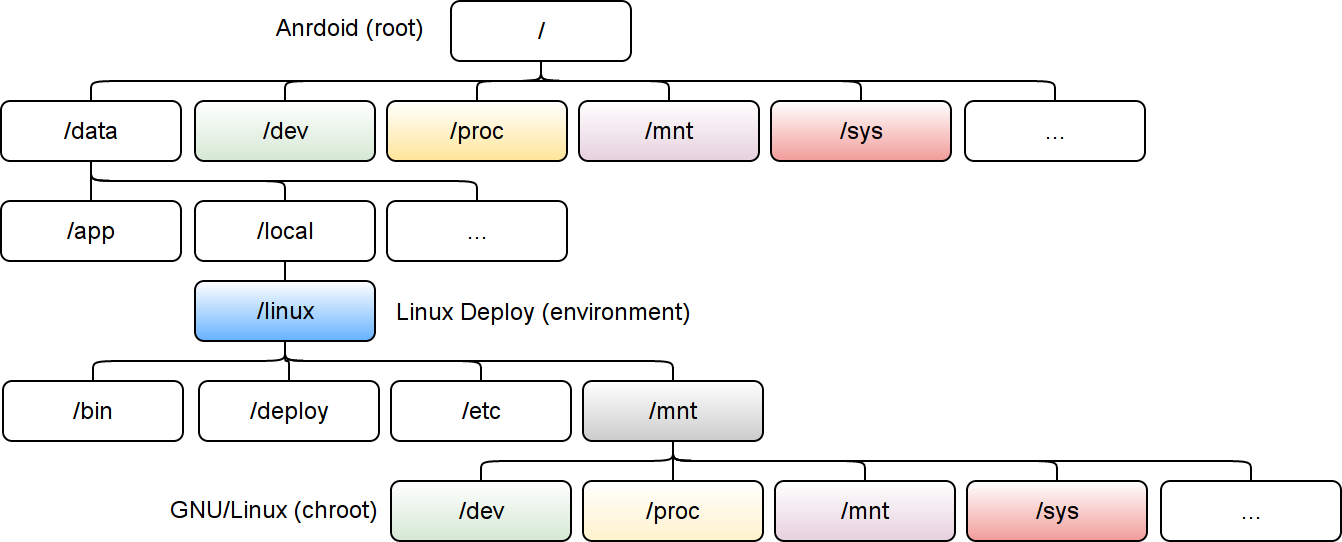
The article provides an overview of the main functions of the developed software to automate the installation of GNU/Linux distributions and run Linux applications on Android devices. Examples of its possible use, comparison with analogues are given. The principles of software operation are described. Performance estimates and approbation statistics are provided.
Download PDF.
You can run the OpenPandora distribution via Linux Deploy on Android.
You can run the Ångström distribution on Android using Linux Deploy.
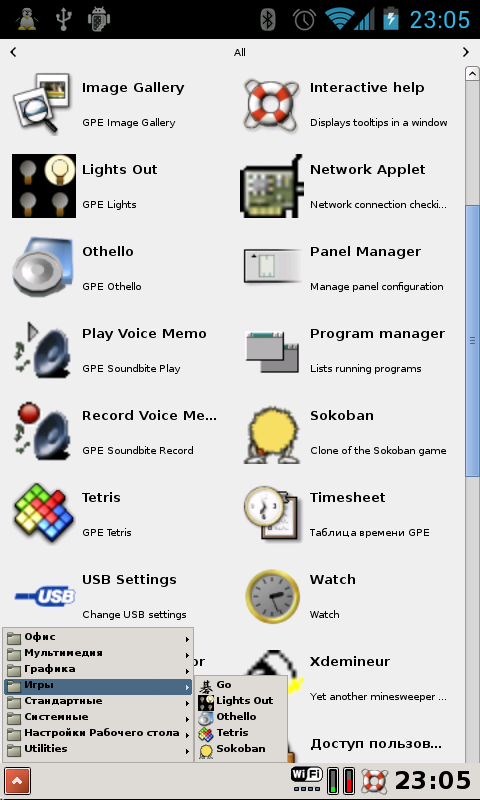
Installing and configuring a desktop environment that is not on the Linux Deploy settings list, using GPE as an example.
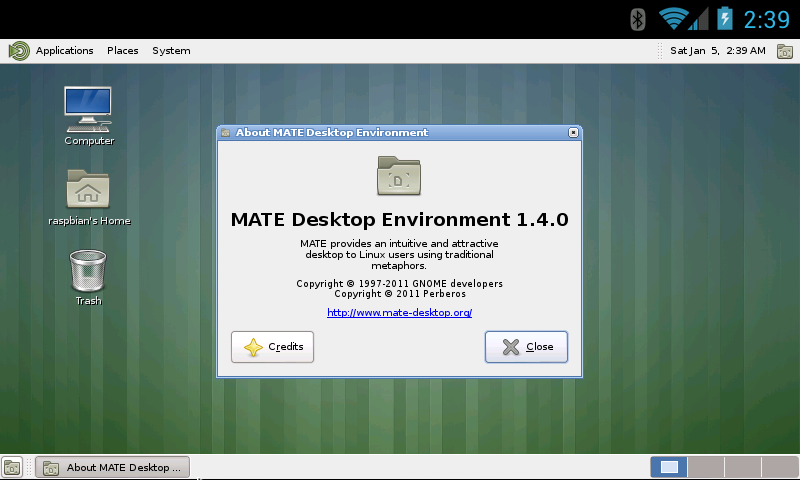
The Raspbian MATE distribution is based on Debian and is being developed for the Raspberry Pi, using MATE as the desktop environment. This distribution can be run on Android via Linux Deploy.
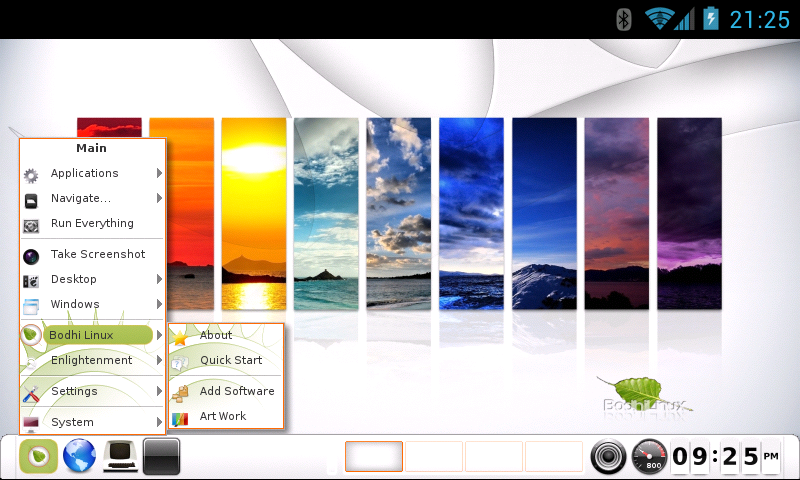
Linux Deploy supports the launch of the Bodhi Linux distribution on Android.
Installing and configuring the desktop environment, which is not in the list of Linux Deploy program settings, using the example of Unity.


